Workmate 79-001 Accessories
Mitremate Saw and Mitre Guide 79-012
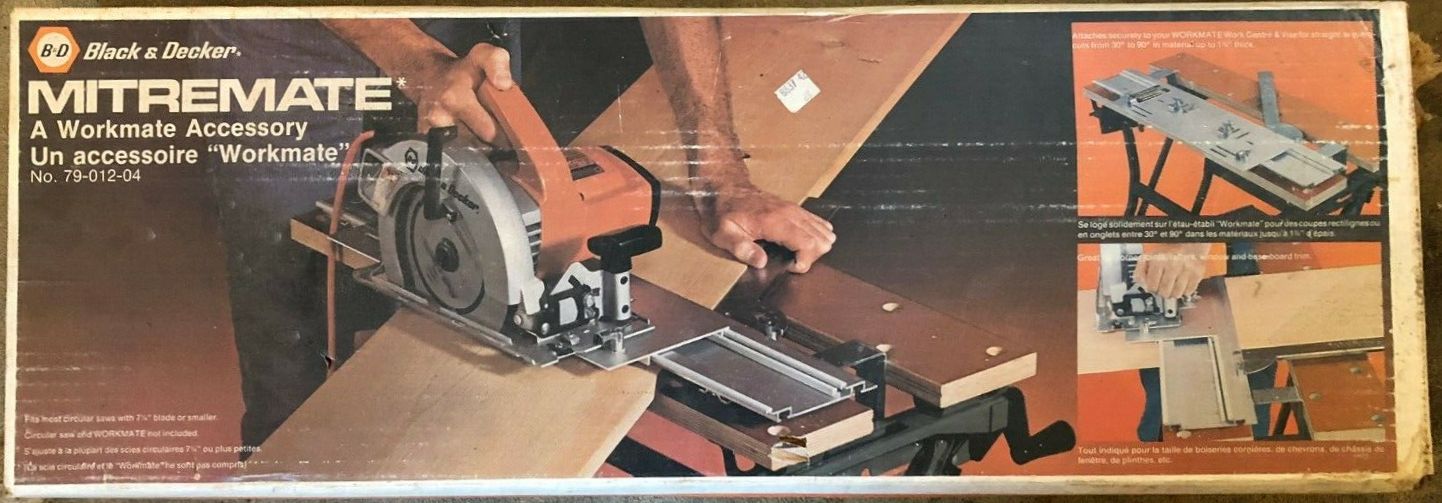
The Mitremate Saw & Mitre Guide 79-012 was the first accessory that Black & Decker released for the Workmate. It was introduced in late 1976 at a price of $24.99. It was also the first accessory to be discontinued, disappearing from their product listings by 1989.
A 1982 Black & Decker catalog described it this way:
"For use with Workmate (Except Benchtop Model) and any 7-1/4" circular saw with 15" max. shoe length. Gives greater accuracy in cutting roof rafters, floor joists, studs, window and base trim, aluminum siding. Mitres from 30 to 90 degrees. Versatile. Maximum board thickness 2-7/8"." (However, you might be cautious about the aluminum siding because the 1977 instruction manual for the Mitremate says: "CAUTION MITREMATE IS RECOMMENDED FOR USE ONLY WITH WOOD.")
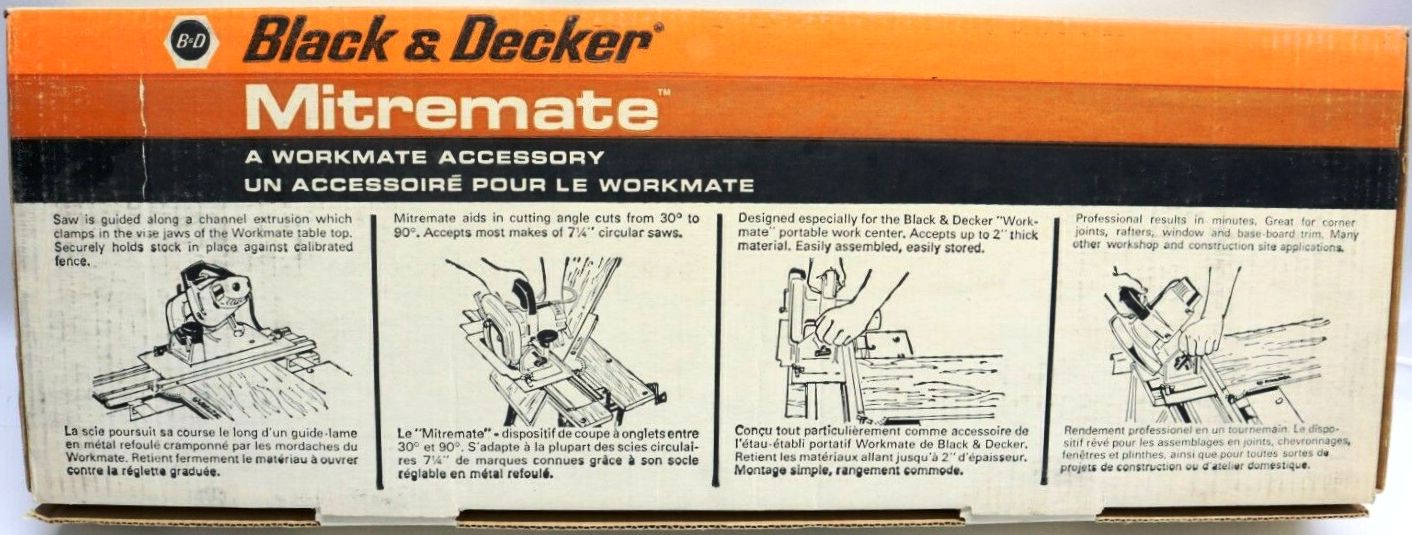
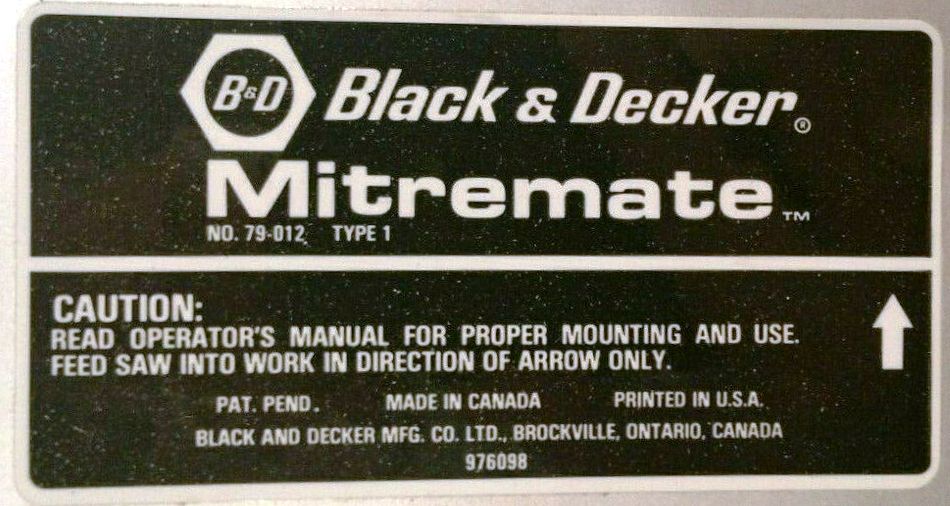
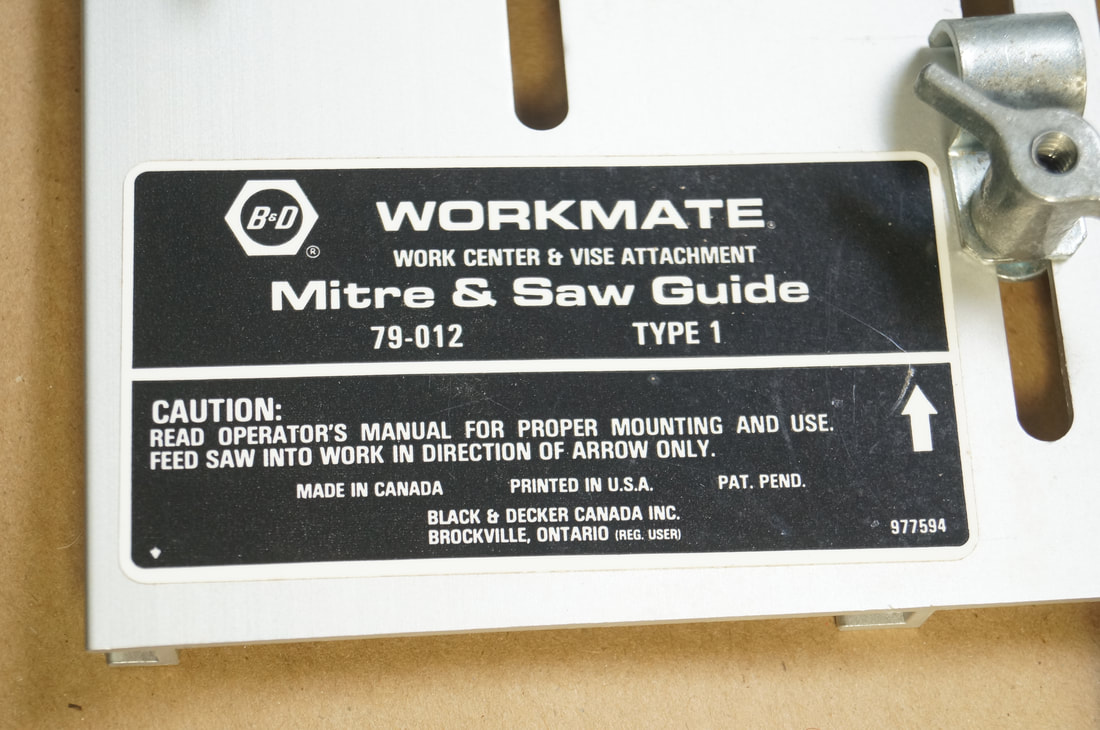
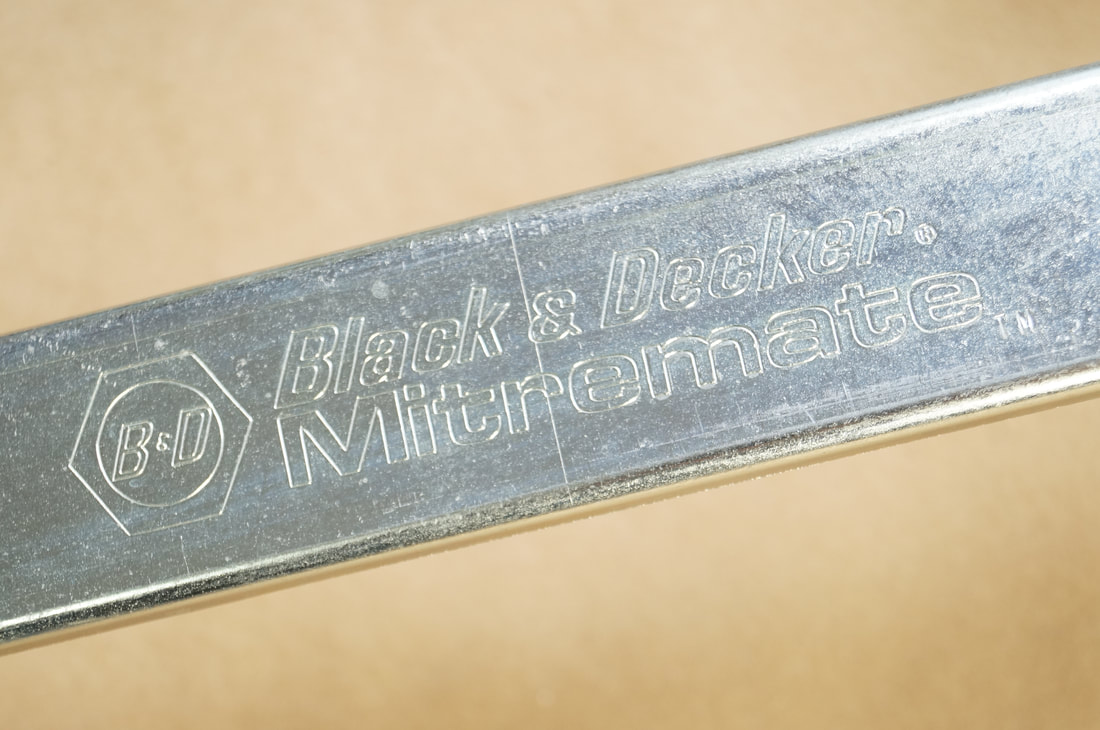
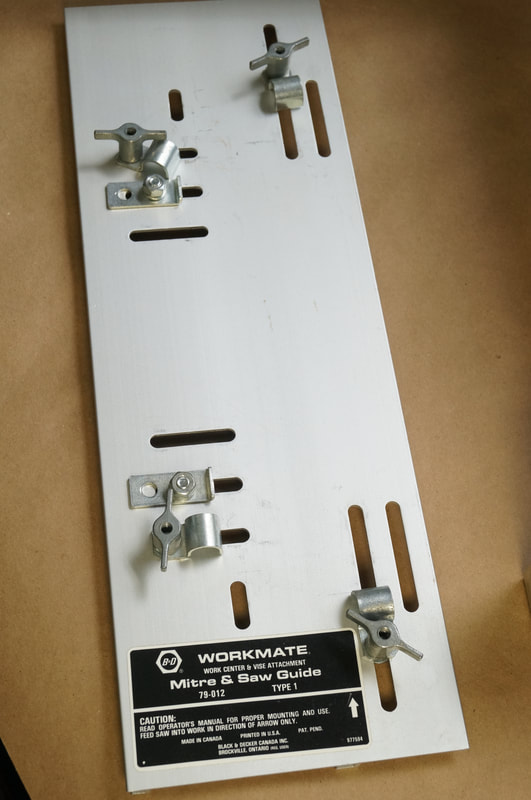
By 1979 Black & Decker had changed the name to the "Mitre and Saw Guide". The photos below include two different boxes used for the Mitremate, two of the different labels used on the tool itself showing the "Mitremate" and "Mitre & Saw Guide" names, and the "Mitremate" name engraved on the adjustable mitre arm (later examples have a plain arm with no engraving). Notice the Type 1 marking on the labels; I have never seen one marked as any other Type.
A 1982 Black & Decker catalog described it this way:
"For use with Workmate (Except Benchtop Model) and any 7-1/4" circular saw with 15" max. shoe length. Gives greater accuracy in cutting roof rafters, floor joists, studs, window and base trim, aluminum siding. Mitres from 30 to 90 degrees. Versatile. Maximum board thickness 2-7/8"." (However, you might be cautious about the aluminum siding because the 1977 instruction manual for the Mitremate says: "CAUTION MITREMATE IS RECOMMENDED FOR USE ONLY WITH WOOD.")
By 1979 Black & Decker had changed the name to the "Mitre and Saw Guide". The photos below include two different boxes used for the Mitremate, two of the different labels used on the tool itself showing the "Mitremate" and "Mitre & Saw Guide" names, and the "Mitremate" name engraved on the adjustable mitre arm (later examples have a plain arm with no engraving). Notice the Type 1 marking on the labels; I have never seen one marked as any other Type.
|

|
|
|
|
|
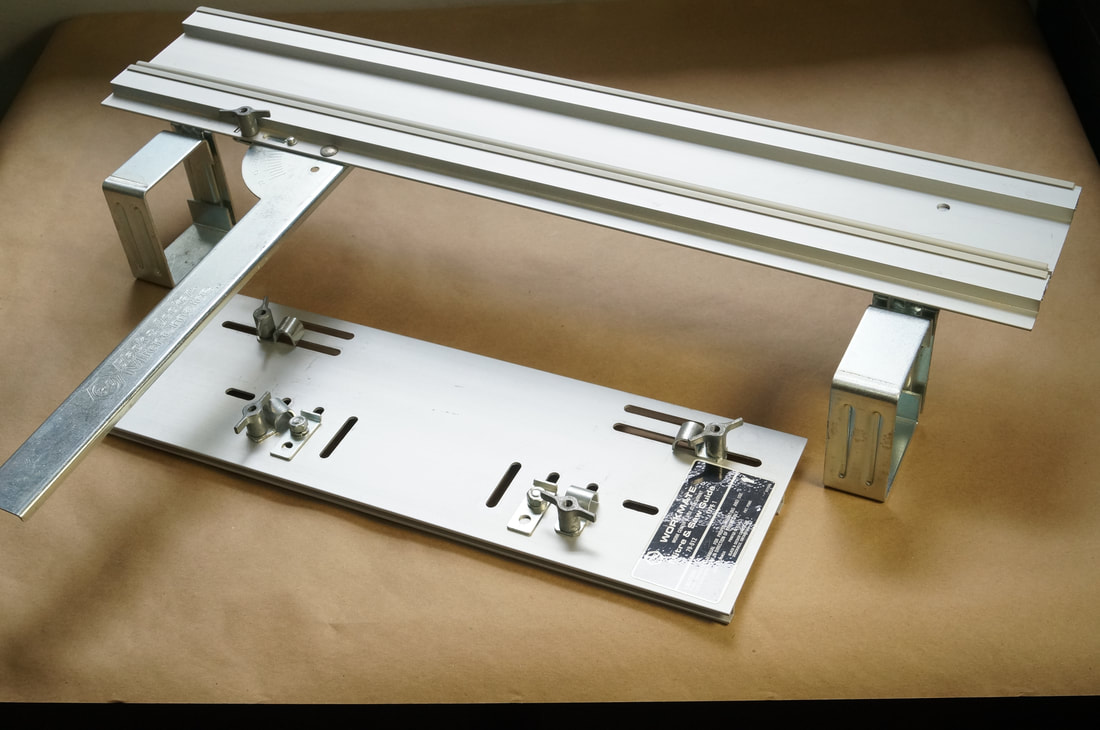
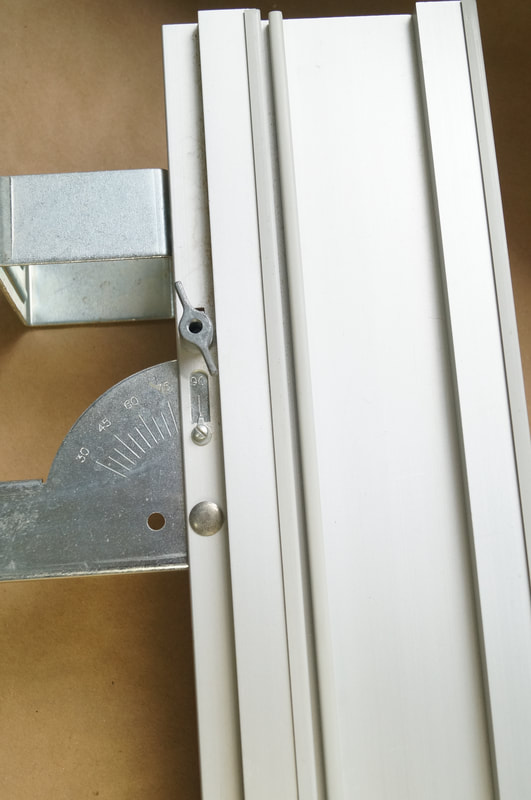
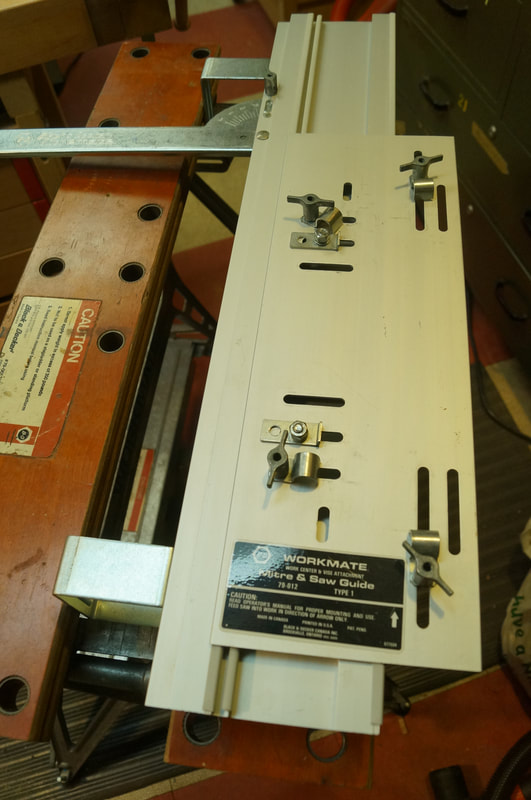
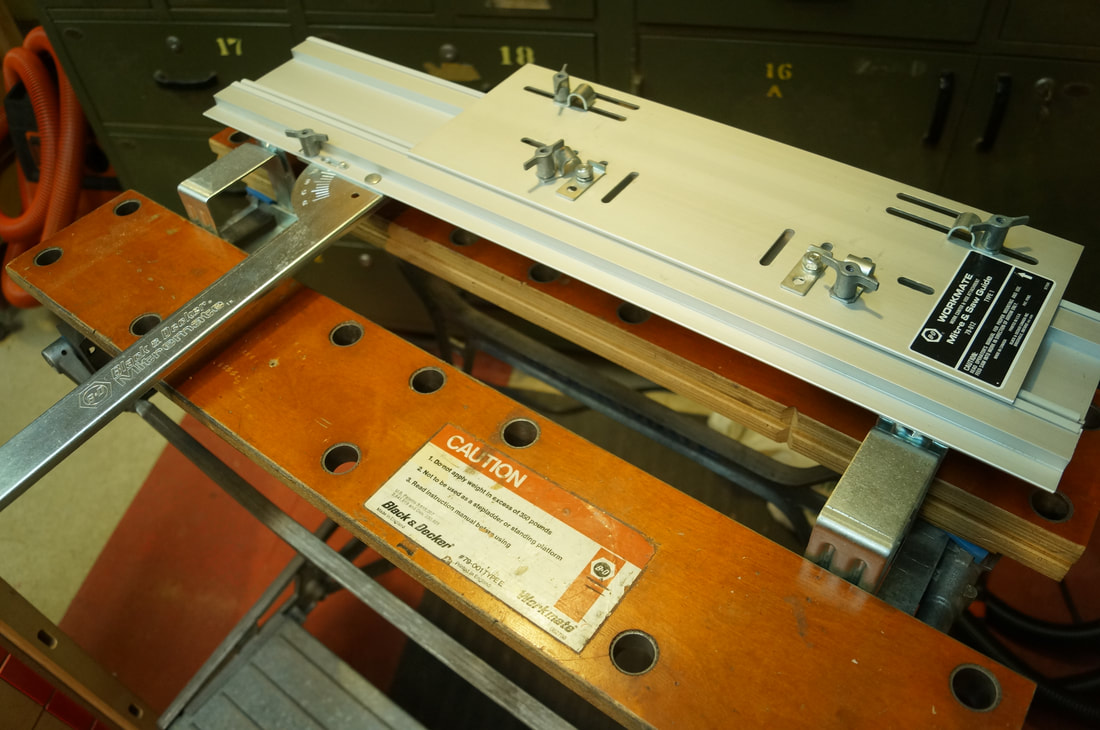
The next four photos show various views of the assembled Mitremate before the saw is attached and before the Mitremate is mounted to the Workmate. Notice that the label on this one has the name "Mitre & Saw Guide", but the mitre arm still has the engraved "Mitremate".
|
|
|
|
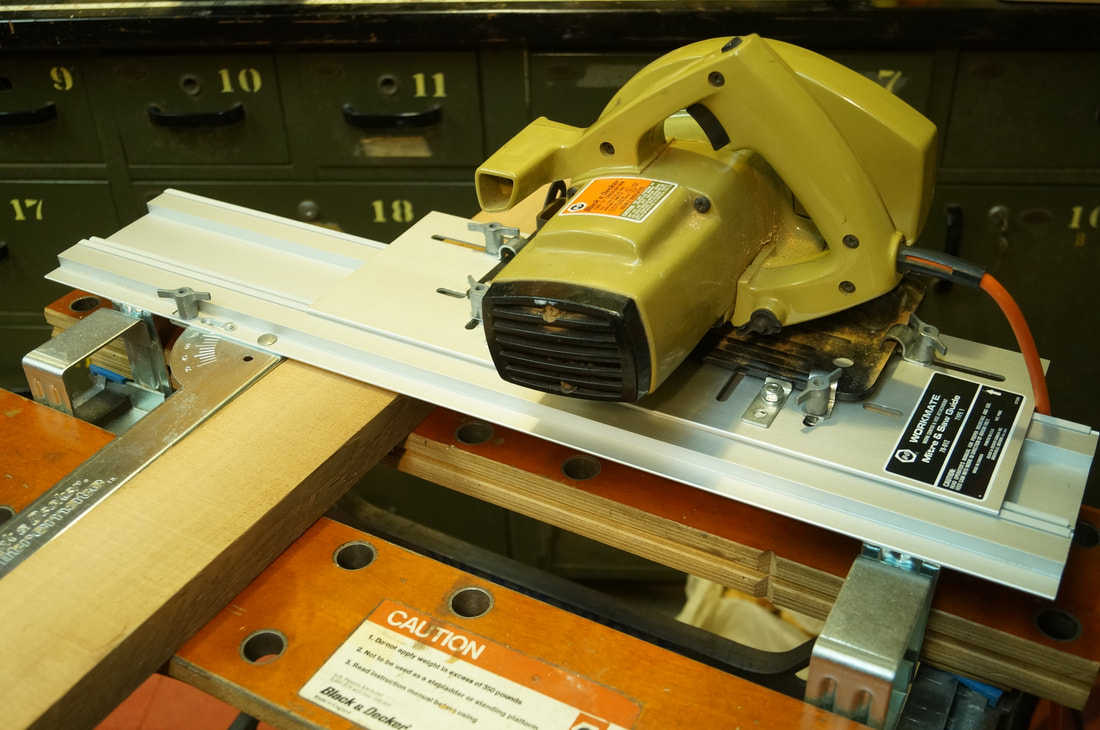
The complete instruction manual for the Mitremate is available for download on the Documents page. The following is my slightly different explanation of how to use the Mitremate. See the photos at the bottom, showing the Mitremate with a genuine period-correct B&D Model 7308 circular saw installed on my Workmate 79-001 Type E.
CAUTION: Use of the Mitremate involves a potentially dangerous circular saw. What follows are not Black & Decker's instructions. You are responsible for safe assembly and use of the Workmate, Mitremate and circular saw!
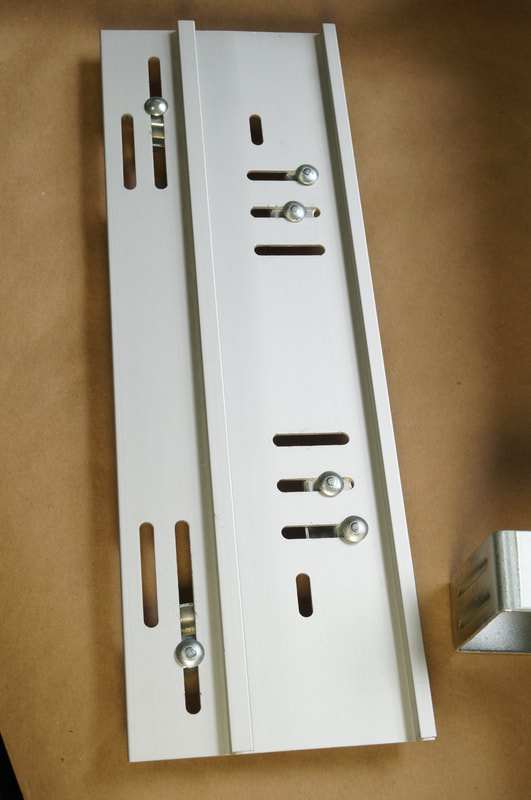
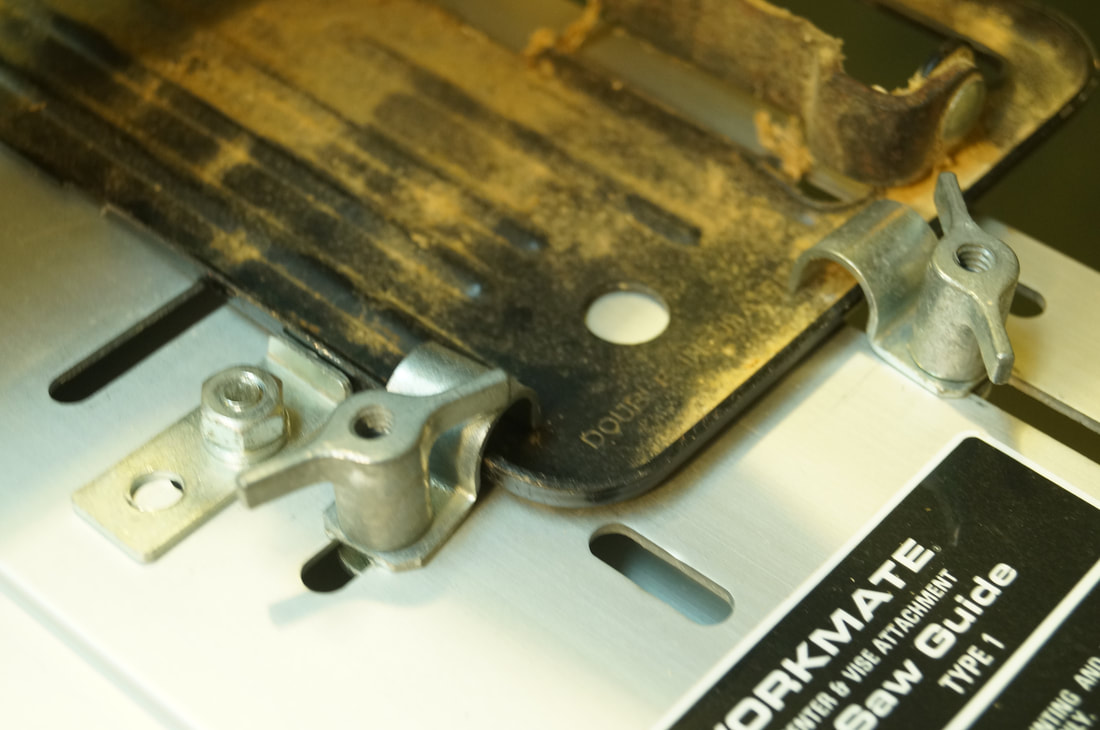
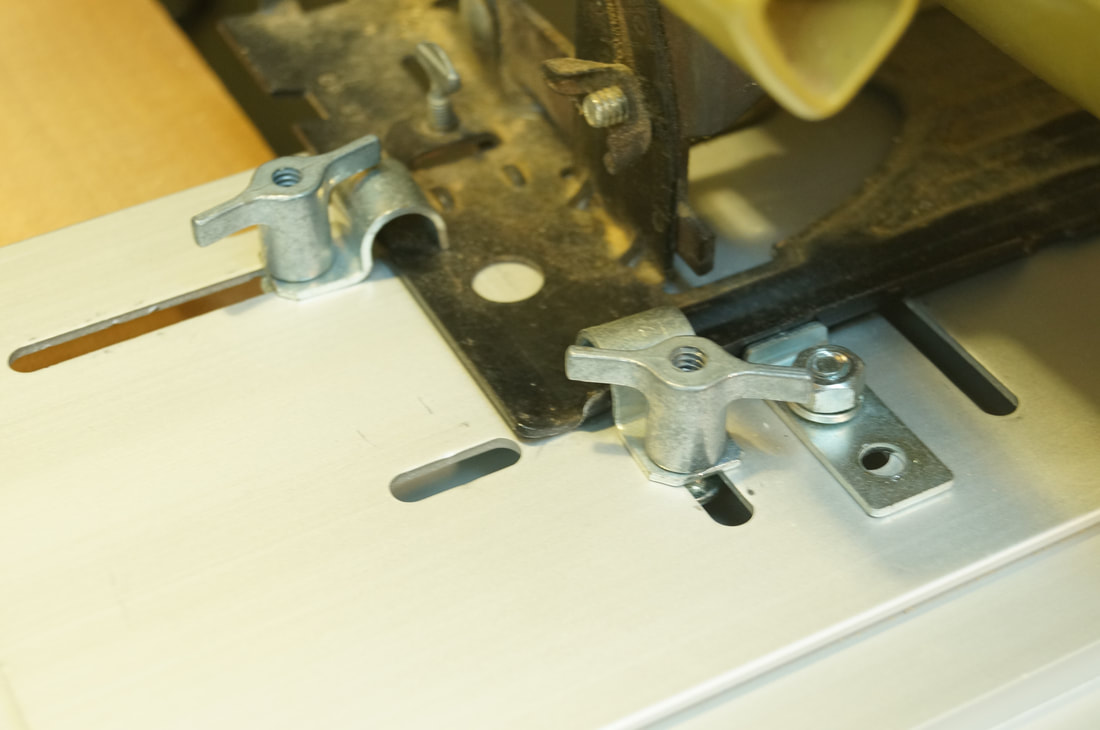
There are two main pieces to the Mitremate - a sled that holds your circular saw, and the track that is clamped into the Workmate and which the sled runs in. There are also six small pieces of hardware used to mount the saw to the sled - two saw-alignment tabs and four saw-clamping clips. (Those are my names for them; B&D has different names for them.) There are multiple slots in the sled so you can position the hardware where needed for your saw.
The saw-clamping clips are shaped sort of like a "P" and have a type of wingnut. The saw-alignment tabs are flatter with just a small lip and use a standard nut. The reason for the two types of nuts is that for a specific circular saw you only attach the tabs once and then never need to move them, while the wingnuts on the clips let you remove the saw easily for other uses. When you reinstall it on the sled, the alignment tabs make sure you get it back in the proper parallel position.
One clip attaches to one of the lengthwise slots at the front of the sled and another clip attaches at the back. The other two clips and the two tabs go in the crosswise slots along the left side of the sled.
You start with the tabs to establish the side-to-side position of the saw. Place the saw on the sled with the blade and its guard safely overhanging and approximately parallel to the right side of the sled. Note that this is NOT like a modern track saw with zero clearance for the blade; the blade will be well clear of the edge of the sled. Slide the tabs against the left side of the saw baseplate and tighten them slightly to establish the sideways position of the saw. Take the saw off the sled, measure the distance of each tab from the edge of the sled, adjust one of them so the distances are exactly the same, and tighten them completely. At this point, the saw is not actually attached to the sled, and you will still need to make final adjustments on the tabs to get the saw perfectly parallel later in the process.
Then you attach the four clips in whichever slots work best and slide them into position, tightening them to clamp the saw baseplate. One of the clips MUST be installed at the front edge of the saw, resisting the direction of motion of the saw. The position of the saw along the length of the sled isn't particularly critical; it has much more leeway than the sideways position.
Now it is mounted, but you have to check the alignment of the blade with the edge of the sled again. Use a rule to measure the distance from the edge of the sled to the saw blade at the front and back. If they are not identical, loosen the clips, loosen at least one of the tabs, move it as needed, and tighten everything up again. Check the alignment again and repeat until it's right. If you don't get the blade parallel to the direction of travel, the cut will be rough and could even kick back.
To use it, adjust the mitre arm on the track to the angle you need and tighten it in position. The arm has a scale that is reasonably accurate, but for additional precision you should check it with a square, sliding bevel, protractor or other reference appropriate to the angle you need. Open the jaws of the Workmate about 4" to allow room for the brackets on the track, place the track (without the saw/sled assembly) between them as shown, with the track over the rear jaw, but don't clamp it yet. Take the board you want to cut, lift the track up and slide the board underneath it, so the track balances on it. Now tighten the jaws firmly to clamp the track. (It actually works best if there is an additional 1/32"-1/16" clearance for the track above the workpiece, which you can achieve by using a piece of cardboard or something similar as a spacer.) Be sure you get it tight--you don't want the Mitremate to come loose while you're cutting!
Slide the saw/sled assembly onto the track and you're ready to make your cuts. As long as you're working with the same thickness of stock, you don't have to change anything. If you switch thickness, you should reset the track in the jaws to just clear the new thickness.
CAUTION: Use of the Mitremate involves a potentially dangerous circular saw. What follows are not Black & Decker's instructions. You are responsible for safe assembly and use of the Workmate, Mitremate and circular saw!
There are two main pieces to the Mitremate - a sled that holds your circular saw, and the track that is clamped into the Workmate and which the sled runs in. There are also six small pieces of hardware used to mount the saw to the sled - two saw-alignment tabs and four saw-clamping clips. (Those are my names for them; B&D has different names for them.) There are multiple slots in the sled so you can position the hardware where needed for your saw.
The saw-clamping clips are shaped sort of like a "P" and have a type of wingnut. The saw-alignment tabs are flatter with just a small lip and use a standard nut. The reason for the two types of nuts is that for a specific circular saw you only attach the tabs once and then never need to move them, while the wingnuts on the clips let you remove the saw easily for other uses. When you reinstall it on the sled, the alignment tabs make sure you get it back in the proper parallel position.
One clip attaches to one of the lengthwise slots at the front of the sled and another clip attaches at the back. The other two clips and the two tabs go in the crosswise slots along the left side of the sled.
You start with the tabs to establish the side-to-side position of the saw. Place the saw on the sled with the blade and its guard safely overhanging and approximately parallel to the right side of the sled. Note that this is NOT like a modern track saw with zero clearance for the blade; the blade will be well clear of the edge of the sled. Slide the tabs against the left side of the saw baseplate and tighten them slightly to establish the sideways position of the saw. Take the saw off the sled, measure the distance of each tab from the edge of the sled, adjust one of them so the distances are exactly the same, and tighten them completely. At this point, the saw is not actually attached to the sled, and you will still need to make final adjustments on the tabs to get the saw perfectly parallel later in the process.
Then you attach the four clips in whichever slots work best and slide them into position, tightening them to clamp the saw baseplate. One of the clips MUST be installed at the front edge of the saw, resisting the direction of motion of the saw. The position of the saw along the length of the sled isn't particularly critical; it has much more leeway than the sideways position.
Now it is mounted, but you have to check the alignment of the blade with the edge of the sled again. Use a rule to measure the distance from the edge of the sled to the saw blade at the front and back. If they are not identical, loosen the clips, loosen at least one of the tabs, move it as needed, and tighten everything up again. Check the alignment again and repeat until it's right. If you don't get the blade parallel to the direction of travel, the cut will be rough and could even kick back.
To use it, adjust the mitre arm on the track to the angle you need and tighten it in position. The arm has a scale that is reasonably accurate, but for additional precision you should check it with a square, sliding bevel, protractor or other reference appropriate to the angle you need. Open the jaws of the Workmate about 4" to allow room for the brackets on the track, place the track (without the saw/sled assembly) between them as shown, with the track over the rear jaw, but don't clamp it yet. Take the board you want to cut, lift the track up and slide the board underneath it, so the track balances on it. Now tighten the jaws firmly to clamp the track. (It actually works best if there is an additional 1/32"-1/16" clearance for the track above the workpiece, which you can achieve by using a piece of cardboard or something similar as a spacer.) Be sure you get it tight--you don't want the Mitremate to come loose while you're cutting!
Slide the saw/sled assembly onto the track and you're ready to make your cuts. As long as you're working with the same thickness of stock, you don't have to change anything. If you switch thickness, you should reset the track in the jaws to just clear the new thickness.
|
|
|
